Save this before you shoot
The 12-photo online appraisal checklist
Photograph the item in this order. The sequence moves from overall identity to the evidence a reviewer uses to distinguish variants, judge visible condition, and select better comparisons. Keep the original files; do not add beauty filters, blur the background digitally, or hide flaws.
- Full front: the entire item, straight and uncropped.
- Full back: include backing, hardware, labels, or finish.
- Left side: show depth, profile, joints, and edge wear.
- Right side: repeat the opposite profile at the same distance.
- Top: show openings, lids, rims, surfaces, or upholstery.
- Base or underside: capture feet, fasteners, marks, and construction.
- Maker evidence: one sharp close-up of each signature, stamp, label, or serial number.
- Material and construction: photograph seams, joinery, weave, glaze, clasp, mount, or frame.
- Best condition area: show the surface where color, finish, or workmanship is easiest to read.
- Every flaw: chips, cracks, dents, losses, repairs, stains, replaced parts, or scratches.
- Scale: a ruler on the same plane as the item, plus written height, width, and depth.
- Set and paperwork: the item with its pair, case, box, receipt, certificate, or other history—then each piece separately.
Minimum viable set: if you can send only six photographs, use shots 1, 2, 6, 7, 10, and 11. Add the missing views when the item is three-dimensional, reflective, framed, mechanically complex, or part of a set.
Set up once so every photo tells the same story
Choose a stable surface, a plain background, and soft light. Fill most of the frame without cutting off an edge. Keep the camera roughly level with the center of the item for the first overall view, then move around the item instead of rotating the phone at random. A tripod is useful but not essential; a stack of books and the phone timer can steady a close-up.

Use soft, even light—not dramatic light
Turn off direct flash if it creates a white hotspot. Place the item beside a bright window with no direct sun, or diffuse two lamps through white fabric or tracing material kept safely away from hot bulbs. Do not mix strongly yellow room light with blue daylight. For glossy glass, polished metal, or varnished paintings, shift the lights and camera until reflections move away from the detail you need to show.

- Clean the camera lens; do not polish or clean the item unless you know it is safe.
- Use the rear camera at its normal focal length before trying macro mode.
- Tap the important detail to focus and review the result at full size.
- Keep one unedited color file even if you make a cropped copy.
Shoot the identifying views before the close-ups
An isolated signature or crack is hard to interpret when the reviewer cannot locate it on the item. Start with the full front, full back, both sides, and base. Then take a medium view that shows where each detail sits, followed by the tight close-up. This wide–medium–close pattern connects the evidence instead of creating a folder of disconnected fragments.

Pair every detail with a location view
- Signature: full front, lower-corner location, legible close-up.
- Label: full back, label location, square-on close-up.
- Damage: full side, affected area, close-up with scale.
- Joinery or hardware: full base or back, assembly view, fastener detail.
Take text straight-on so letters and numbers stay readable. If a stamp is shallow, add one extra view with light grazing across it—but retain the evenly lit record too. Never trace, darken, or digitally redraw a faint mark.

What similar items actually sold for
To help ground this guide in real market activity, here are recent example auction comps from Appraisily’s internal database. These matched sales are market context only, not an object estimate or identification, and they do not guarantee a price for your specific item.
Shown USD range: USD 800-USD 3,000. Median of these 3 USD examples: USD 1,000.
| Comparable | What sold | Auction house | Date | Lot | Reported price realized |
|---|---|---|---|---|---|
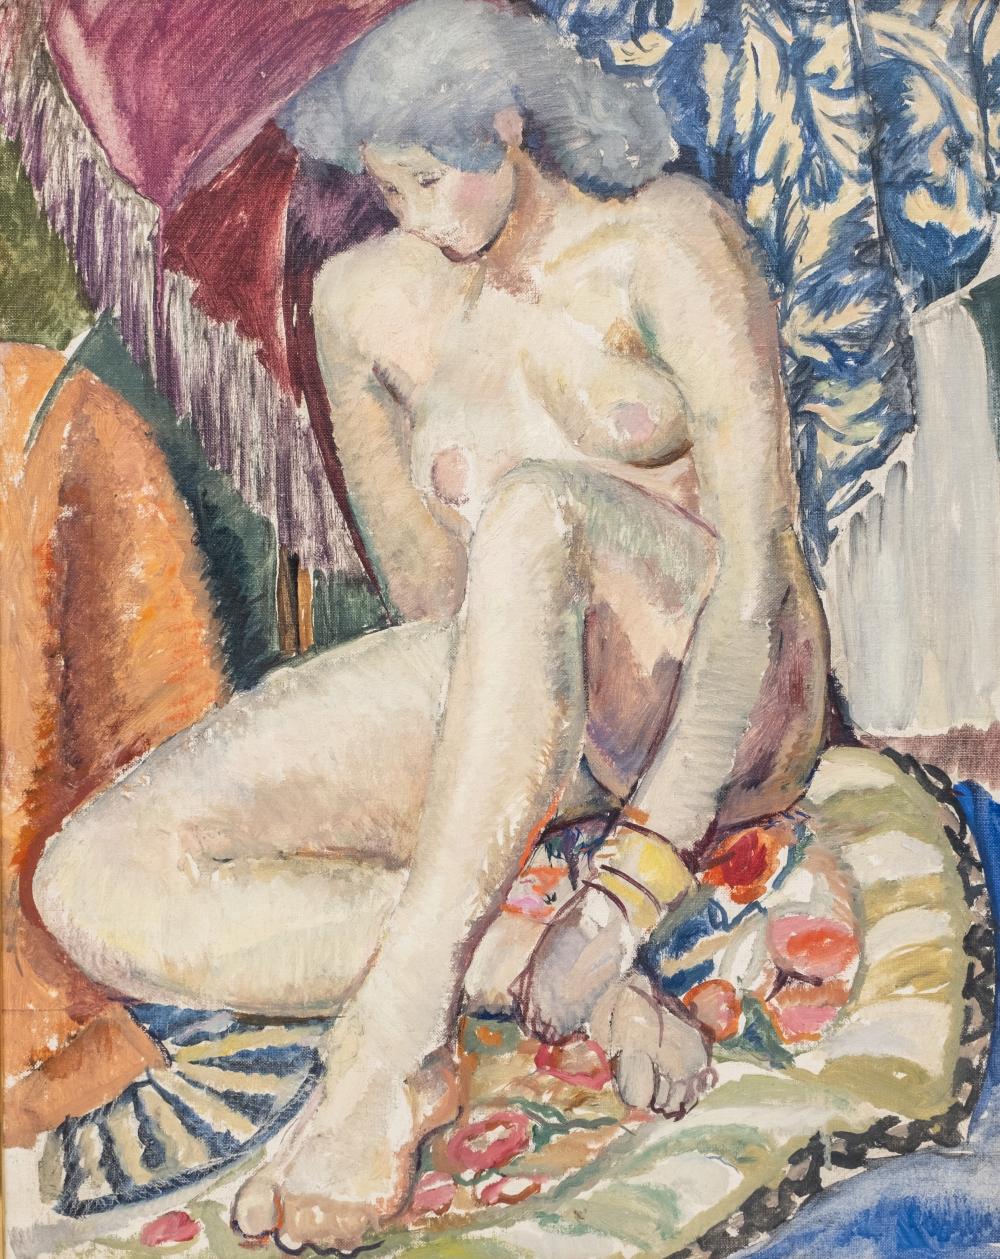 |
Arthur Beecher Carles, Canvas Board Painting, Christie's Labels on Verso | Collective Hudson, LLC | 2025-01-19 | 86 | USD 3,000 (price basis unavailable) |
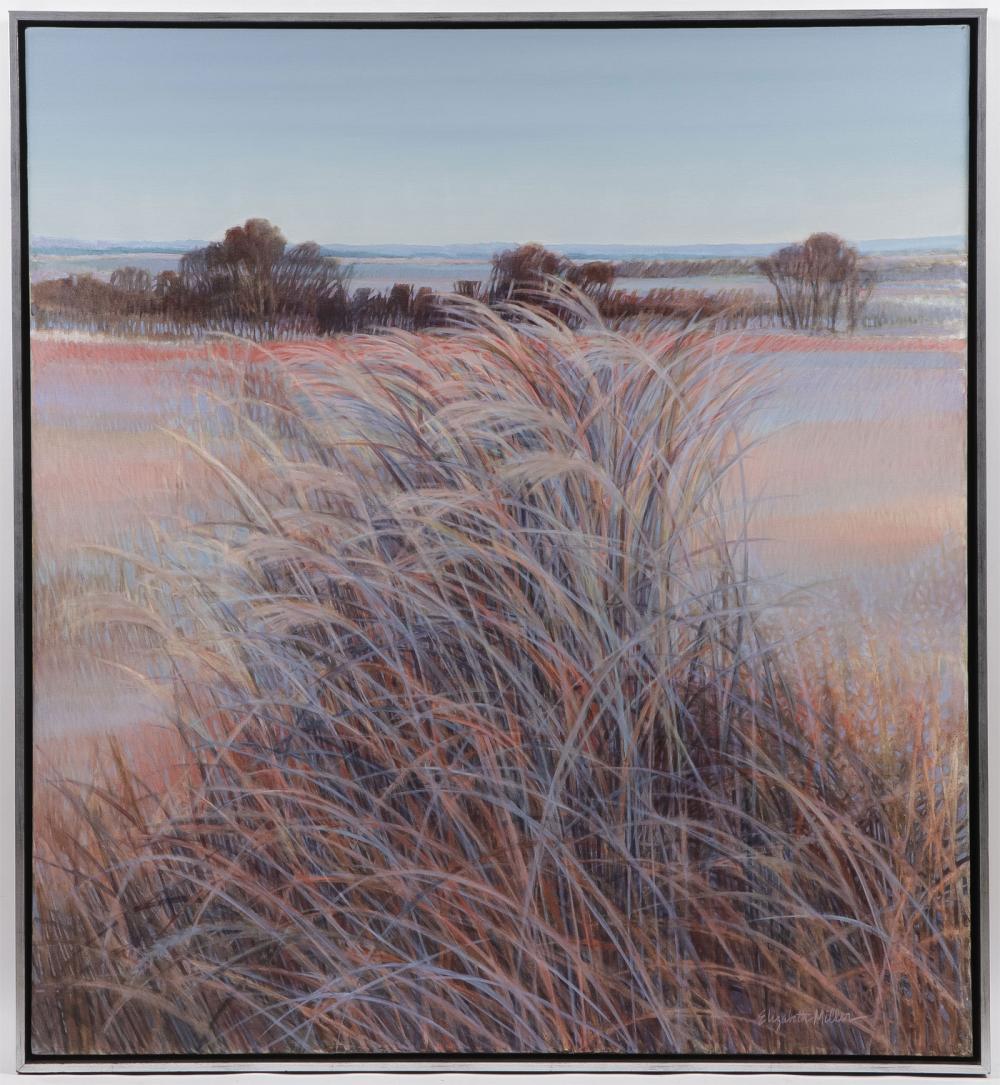 |
GOOD SIGNED ORIGINAL LANDSCAPE PAINTING | Jackson's International | 2023-04-26 | 513 | USD 800 (price basis unavailable) |
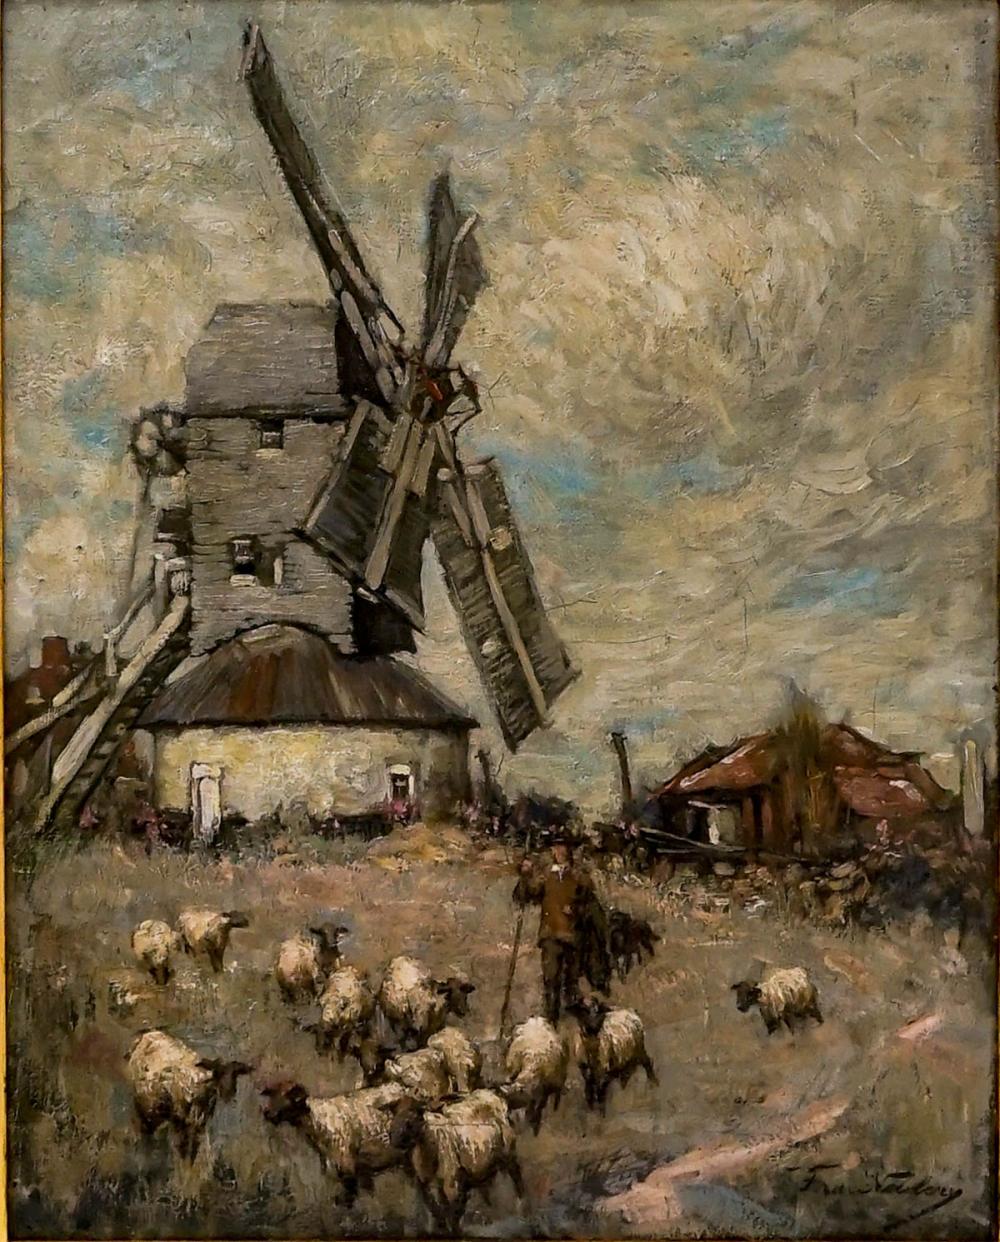 |
Francis H. Newbery Signed Oil Painting | Grant Zahajko Auctions, LLC | 2023-03-01 | 14 | USD 1,000 (price basis unavailable) |
How these auction records were verified
Each row retains its exact source URL, lot identity, retrieval time, collection-time access result, and immutable record hash. If an auction page is unavailable or challenge-protected, the retained evidence identity can still be inspected in the public comparable provenance record.
Disclosure: prices are shown as reported by auction houses and are provided for appraisal context. Learn more in our editorial policy.
Free instant estimate
Ready to share photos of your item?
Tell us what you have and get a free first read. Clear overall, mark, scale, and condition shots help us see what should be checked next.
Free. No card needed. Takes about two minutes.
Show the clues that change which comparisons fit
A remote reviewer does not value “an old vase” or “a signed picture” in the abstract. The useful comparison set depends on what the photos support: maker, model, date, material, size, completeness, condition, and sometimes provenance. Capture all identifying evidence, but let each photograph do one job.
| Evidence | What to photograph | What it helps resolve |
|---|---|---|
| Maker or artist | Signature, hallmark, label, stamp, serial or reference number | Attribution, model, workshop, date range, and search terms |
| Material | Unfinished edge, underside, weave, grain, glaze, metal surface, mount | Which material and construction comparisons are plausible |
| Condition | Every flaw plus a wider view locating it | Whether a comparison needs adjustment for damage, repair, or loss |
| Completeness | Whole set together, then every component and accessory | Whether the item matches complete, partial, or assembled examples |
| Provenance | Box, receipt, old label, exhibition history, certificate—separately | Which claims can be checked rather than assumed |
Add the category-specific shots your item needs
The 12 core shots are a starting point. Use this add-on matrix to cover evidence that is easy to miss in a general sequence.
| Category | Add these views |
|---|---|
| Painting or print | Image square-on, corners, surface in raking light, signature location and close-up, reverse, stretcher or sheet edge, frame labels, framed and unframed dimensions. |
| Furniture | Front, sides, back, top, underside, drawers removed if safe, joinery, hardware backs, feet, labels, repairs, and overall scale in the room. |
| Jewelry or watch | Front and back, clasp, hallmarks, stone settings, side profile, chain, movement or caseback only if safely accessible, plus weight and dimensions in text. |
| Ceramic or glass | Full profile, rim, base, foot, maker mark, interior, handles, pontil or mold seams, chips, hairlines, and a transmitted-light view when safe. |
| Silver or metalwork | Full form, base, every hallmark group, monogram, seams, solder, dents, interior, removable parts, and weight in text. |
| Book or paper | Covers, spine, title and copyright pages, edition statement, plates, binding, page edges, inscriptions, foxing, tears, and any missing pages. |
| Set or collection | All pieces together, each piece separately, pattern or model numbers, duplicates, missing positions, case or packaging, and one inventory photo. |
Measure without letting the ruler distort the view
Write the dimensions in the description; do not rely on a ruler photo alone. Record height × width × depth in one unit, and include weight when it is safe and relevant. For framed art, distinguish the visible image, sheet or canvas, and outside frame. For a round item, give diameter; for a vessel, include rim and base diameter when useful.
- Take a clean overall photograph with no ruler.
- Place the ruler beside the detail on the same plane as that detail.
- Keep the camera square to both ruler and surface to reduce perspective error.
- Take one close-up and write the measured dimension in your notes.
A coin, hand, or drink can gives a rough impression but not a dependable measurement. Use a ruler or tape with readable units, and never balance a heavy item or open a fragile mechanism merely to obtain a photograph.
Name the files so the evidence stays connected
Send one item per folder when possible. Number files in viewing order and use short factual names: 01-full-front.jpg, 02-full-back.jpg, 03-left-side.jpg, 07-maker-mark.jpg, 10-chip-location.jpg, and 11-chip-closeup-scale.jpg. If there are several items, add a stable item number such as item-03-07-maker-mark.jpg.
Keep the originals at full practical resolution. If an upload service limits file size, make separate copies for sending rather than repeatedly saving over the originals. Do not place private contact details in filenames, and do not combine many tiny views into one collage unless you also retain the individual files.
Run the one-minute reshoot test
Open every file at full size and answer these questions before uploading. Reshoot only the failed view; consistency matters more than turning the session into a studio production.
- Can I see the entire item without a clipped edge?
- Is the important surface sharp when I zoom in?
- Can I read every letter and number in the mark?
- Does glare hide a signature, crack, texture, or finish?
- Is each flaw shown both in context and close-up?
- Is the ruler on the same plane and are the units visible?
- Are the back, base, underside, or interior included where relevant?
- Do the filenames make the sequence obvious?
Fix the five photos that usually waste a slot
- The room portrait
- The item is tiny in a wide room. Move closer and fill the frame, then keep one room view only if scale or placement matters.
- The floating mark
- A close-up shows text but not where it appears. Add a medium location view.
- The flash mirror
- Direct flash hides a glossy surface. Diffuse the light and change the camera angle slightly.
- The damage glamour shot
- A careful angle conceals a chip or repair. Photograph every flaw plainly; condition evidence helps select honest comparisons.
- The screenshot
- A screenshot of a compressed message thread loses detail and metadata. Send the original image file instead.
Photo checklist FAQ
How many photos should I send for an online appraisal?
Start with the 12-shot sequence above, but let the object decide the final count. A simple flat item may need fewer; furniture, sets, mechanical objects, or items with several marks and condition issues may need more. A coherent series is more useful than many near-duplicate front views.
Is a phone camera good enough?
Usually, yes. Clean the lens, use even light, steady the phone, avoid digital zoom, and check marks at full size. Sharp evidence from an ordinary phone is more useful than a dramatic image from expensive equipment.
Should I use flash?
Avoid direct flash when it creates glare or hard shadows. Diffused window light or evenly diffused lamps usually reveal surfaces more clearly. If a faint stamp needs directional light, add that view rather than replacing the neutral record.
Can I crop or edit the photos?
Keep the originals. A straight crop or exposure correction can make a sending copy easier to read, but do not remove the background around a mark, smooth damage, intensify colors, or apply filters that alter visible evidence.
Can photos prove authenticity or an exact value?
No. Photos can support identification, visible condition review, and comparable selection. Hidden construction, materials, alterations, provenance, and subtle surface issues may require more evidence or direct examination.
Search variations this checklist answers
- What photos are needed for an online appraisal?
- How do I photograph antiques for valuation?
- Which angles should I send to an appraiser?
- How do I photograph maker marks and signatures?
- Should appraisal photos include a ruler?
- How do I show damage in appraisal pictures?
- What lighting is best for antique appraisal photos?
- How many pictures should an online appraiser receive?