What to document first
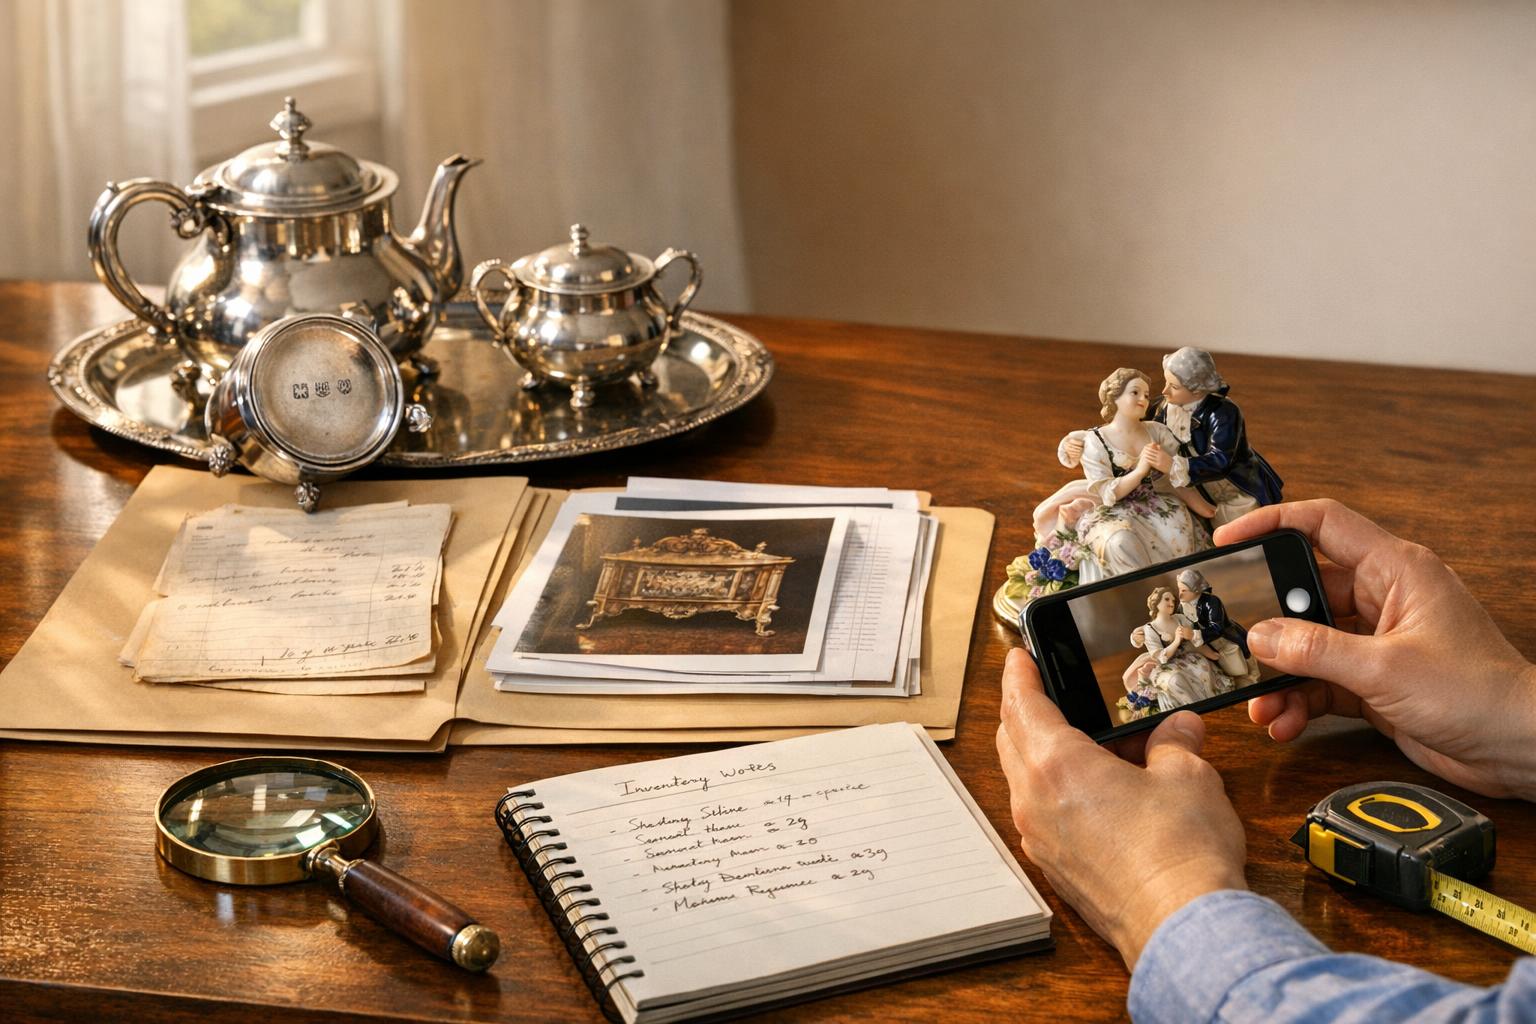
Before calling an appraiser, gather the estate inventory basics: room list, object categories, photos, measurements, maker marks, receipts, prior appraisals, insurance schedules, and known family history.
A clean checklist helps the appraiser identify what can be screened remotely, what needs specialist review, and what should not be sold, donated, or discarded before valuation.
Value factors
Value depends on identification evidence, condition, completeness, intended use, timing, and the market where the property would realistically be sold or replaced. Keep confirmed facts separate from assumptions and preserve documents before moving objects.
No public market evidence are asserted here. Use verified sold records, specialist databases, and object-specific evidence before relying on any market range.
When to request an appraisal
Request a professional appraisal when the property may be insured, donated, sold, inherited, divided in an estate, or reported for tax purposes. Include photos and documentation so the appraiser can recommend the right level of review.
Need help sorting what matters?
Upload photos and notes for estate appraisal checklist so Appraisily can review the evidence and recommend the right appraisal path.
Start an appraisal